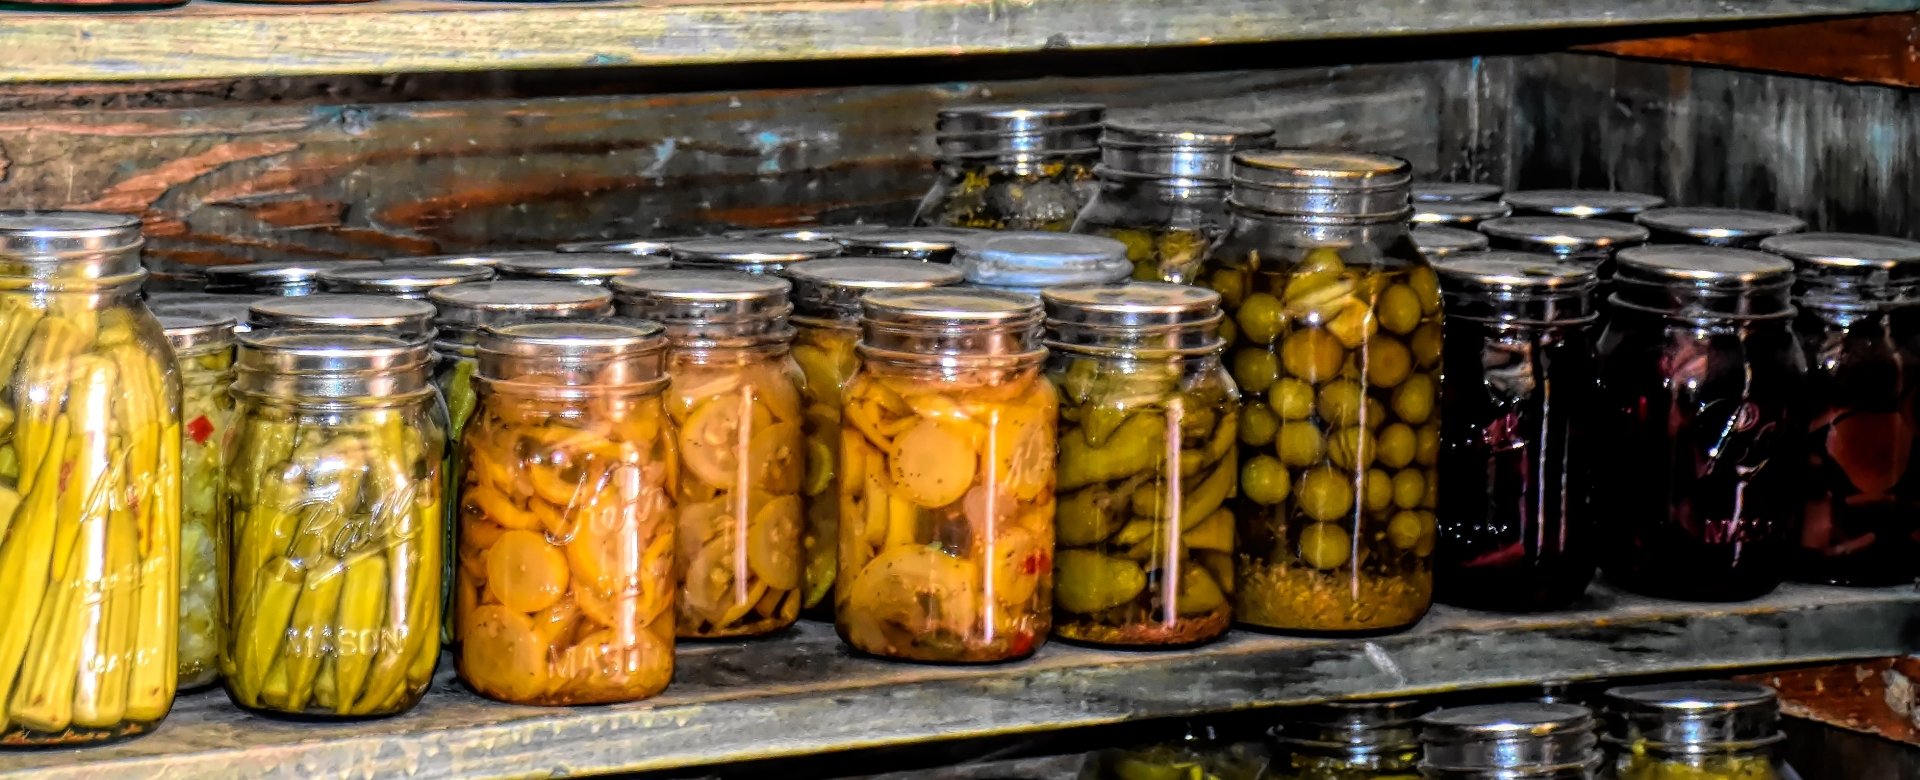
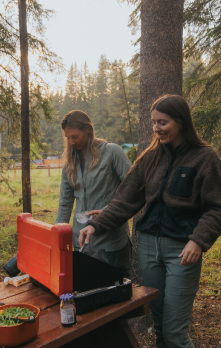
If you've started a garden or happen upon a surplus of food then you may want to consider water bath canning your items. Learning to preserve your harvest will allow your to enjoy throughout the year. However, for those who don't have a family recipe or spend the weekend canning with granny—you may not have your own process to follow and tweak. Follow along as we help our our first time canners in this step by step process.
MATERIALS
- Food to preserve
- Large Pot with Lid and Cooker
- Mason canning jars, new lids, ring bands
- Jar lifter or built-in lifter and rack
- Labels or permanent marker to label your jars
- Canning rack, to keep your jars off the bottom of the pot
- Funnel
WATER BATH CANNING DIRECTIONS
- Prepare your food surplus for preservation.
- Place your pot on the cooker or stove. Add your rack to the bottom and place your empty jars inside the pot.
- Cover the empty jars with water (about 1 IN above the jars.)
- Heat the jars to a simmer. This helps prevent jar breakage.
- Using the jar lifter, carefully remove the empty jars from the pot.
- Use your funnel and begin to fill your jars with your prepared food. Leaving a .5 - 1 IN of headspace (space between the food and rim.
- Wipe any spilled food from the rim and sides of the jar.
- Wipe the rim with vinegar.
- Add your lid and twist on your band, finger tight.
- Place your filled and finger tight jars into simmering water. Water should exceed lid height by 1 IN still.
- Boil your jars based on the preserving recipe you followed. Time will adjust based on different foods you can. (Know your current altitude. Altitude over 1,000 FT will increase processing time by 5 MINS. While, altitude over 8,000 FT will increase your processing time by 20 MINS.)
- Turn off the heat and carefully remove lid. It will be hot.
- Remove the jars with a jar lifter and cool, upright on the counter top for 12 - 24 HRS.
5. INSPO, #FEEDYOUROUTSIDE


