THE BOOK OF BRISKET
While the reward is mouthwatering, let’s be real, briskets are intimidating, not to mention high maintenance. We’re here to be your voice of reason and we promise, once you get the hang of it, you’ll love cooking brisket.
Chapter Links
ANATOMY
Where does brisket come from
Brisket comes from the lower breast section of the cow and can weigh anywhere from 8 to 20 pounds. This large boneless chunk of meat contains a considerable amount of tough connective tissue. Thus, why many choose to tenderize that tissue down by cooking it low and slow.
What are the parts of a brisket
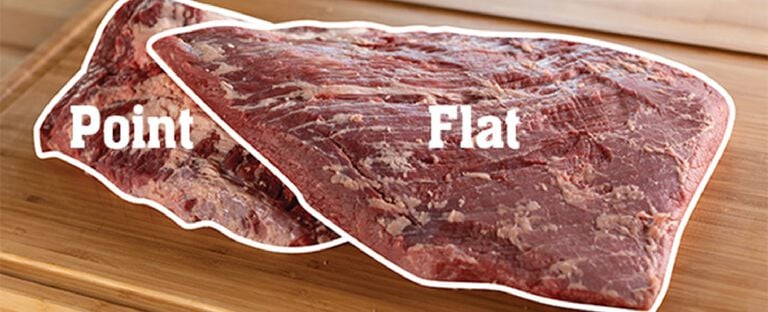
Your brisket's anatomy consists of two main areas-the flat and the point. Most briskets available for purchase will be the flat. The flat is leaner and tends to be a more desirable cut because it's easier for cooking, while the point is a fattier piece of meat. But brisket veterans will often tackle what is known as a full or whole packer-a cut of brisket with both the point and flat intact. Outside of the full packer's high price tag and extended cook time, the end result is always worth the wait.
What are the different grades of brisket
When purchasing a brisket, you'll find there are three USDA grades. Select is the lowest grade, you'll find these at your local grocery store or a restaurant chain. Choice brings more flavor and tenderness and can be found at most supermarkets and butchers. Prime is the highest grade of meat. When comparing the three you will notice an increase of tenderness, juiciness, marbling, and flavor. This is in reference to the meat's fat content. As you could have guessed, choice has a lower fat content than prime. You can typically find Prime at upscale steakhouses and via request from your butcher.

COOKING METHODS
What method is the best method
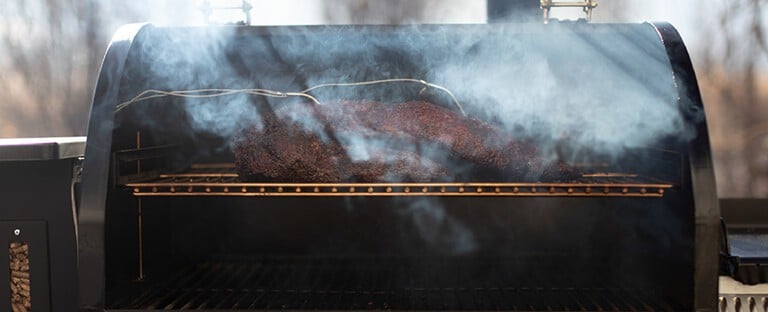
There are tons of ways to cook a brisket. Brisket in a stick smoker, brisket in a drum smoker, brisket in a propane smoker, brisket in an electric smoker, brisket on the pellet grill-the list goes on and on. We might be a little biased to pellet grills so we'll give you our favorite smoking methods.
LOW AND SLOW
Probably the most common brisket cooking method is the classic low and slow. This method entails setting your smoker between 225-250°F and smoking your brisket for upwards of 18 hours. Generally, you will need to account for about 1 hour to 1 hour and 15 minutes per pound. However, this is entirely dependent upon the size of the meat, tenderness, etc. To make this easier, if you are asking; How long will smoking a brisket at 225°F take? We recommend a minimum of 10 hours for an 8 pound brisket, 12 and a half hours for a 10 pound brisket, and 18 hours for a 14 pound brisket. Again this is very dependent on the grade of meat as well as if you decide to wrap it once your bark is set. This also doesn't include the resting time quick is just as important as the smoke time.
HOT AND FAST
This method is quickly growing in popularity. It's an effective option for those who are crunched on time. When participating in the hot and fast method your grill is set between 300-350°F and your meat may only sit on the grill for 5-6 hours. While you may be able to get a great brisket result in half the time, there is a larger window for error and overcooking. Plus, you won't get that same smoky flavor as a low and slow brisket. Though this can still produce amazing BBQ watch for the curl. At higher temperatures the edges will try to curl and this is a sign of cooking too fast. Briskets need time to break down the tissue as we mentioned before so even though the hot and fast method is quicker there is no replacement for patience when BBQing. If you notice the curl you can wrap the ends in a little bit of tin foil. No need to wrap the whole brisket yet but a little layer on the parts that are must likely to burn.
SOUS VIDE
The sous vide method offers tenderness beyond your wildest dreams. However, it comes at a cost in the form of time. Your brisket is often soaked with vegetables for added flavor, sealed via a vacuum sealer, and dropped into a circulator or water bath at a temperature around 155°F. Here's the kicker, you can end up bathing your brisket from upwards of 36 hours. Many people who prefer this method like to throw it on the smoker for an even more robust taste. Sous vide is known for making the meat extra tender but at the same time most people will admit they are not able to get the same smoke flavor after the sous vide.
WOOD
Different woods burn differently and not just any variety hardwood will do for a brisket. If you're looking for a classic bold flavor we recommend a Mesquite or Oak pellet base. If you're looking for something on the sweeter side try a Cherry or Apple. And if you're unsure about which hardwood pellets to commit to, the Competition Blend is a safe route.
In our Pro series pellet grills and smokers you can use hardwood chips or chunks. The Woodwind Pro and XXL Pro have our new technology which give significantly more smoke flavor rivaling that of an offset stick smoker. The chips and chunks burn slightly "dirtier". This is where the majority of the flavor comes from. Pellet grills are amazing at flavor and convenience but critics will say they don't provide enough smoke flavor. If you are considering what wood to use and have the capability of picking up a Pro series pellet grill or vertical smoker, the wood you put in the smoke box will determine the ending flavor.
TRIMMING
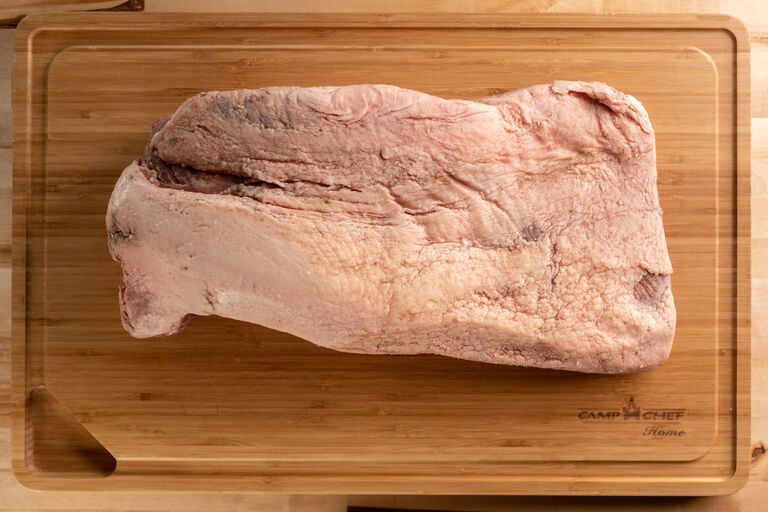
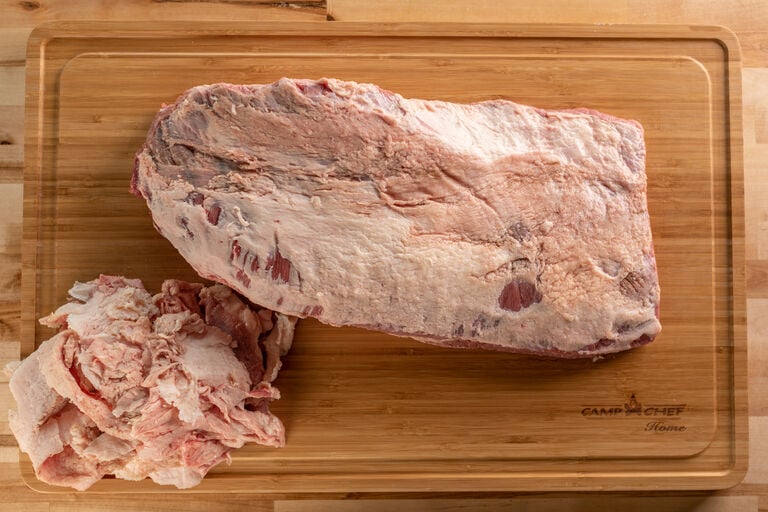
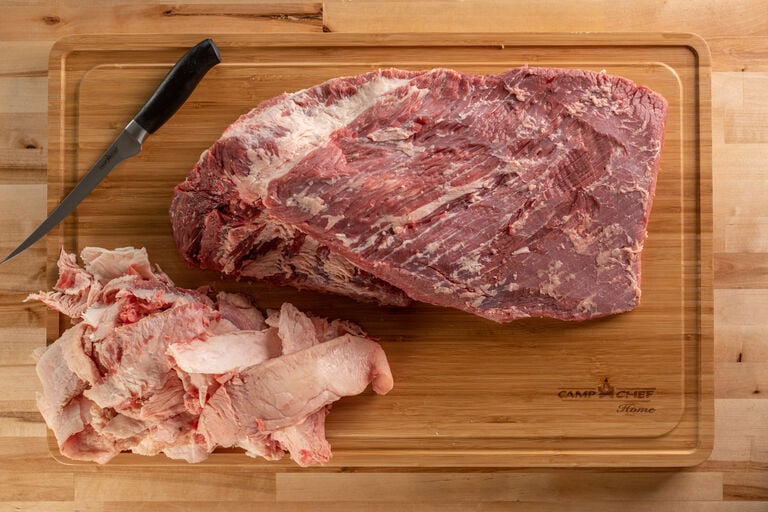
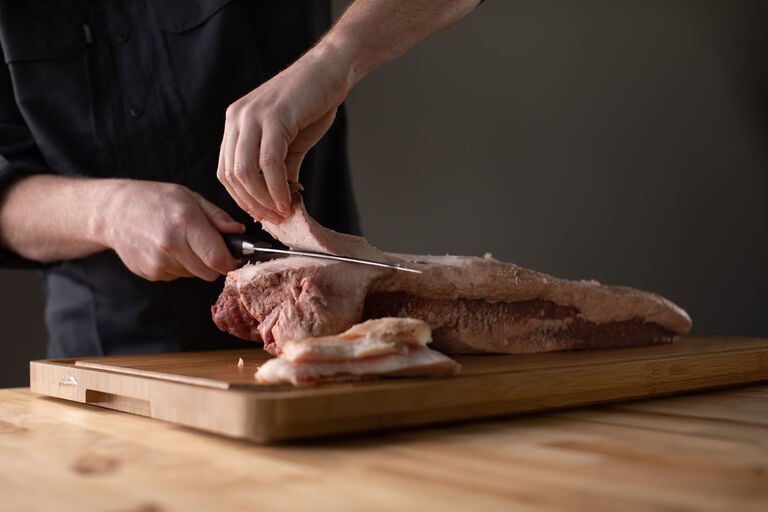
Trimming is essential. First and foremost be sure to always use a sharp knife. We recommend trimming your brisket while it's cold. If you let it rise to even room temperature your meat will be difficult to cut through and may cause an injury. If you have a full packer, find the deckle (the fat/muscle attaching the flat to the rib cage) and trim it as best you can. Take as much of the silver skin off as you can. During this process, you need to find a happy medium between too fatty and too lean (which will equate to a dry brisket post smoke.) Plan on leaving about ¼ of an inch of fat on your brisket.

SEASONINGS
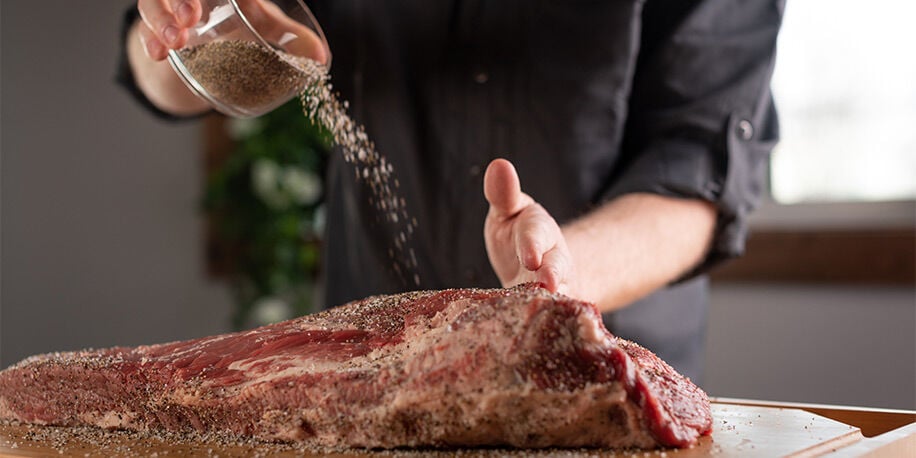
Seasoning is all up for interpretation, everyone has their own personal preference. When doing so, don't forget to give the brisket sides a little love too. Keep in mind that you already have an extremely flavorful piece of meat, and it's only going to get better with time on your pellet grill.
SALT AND PEPPER
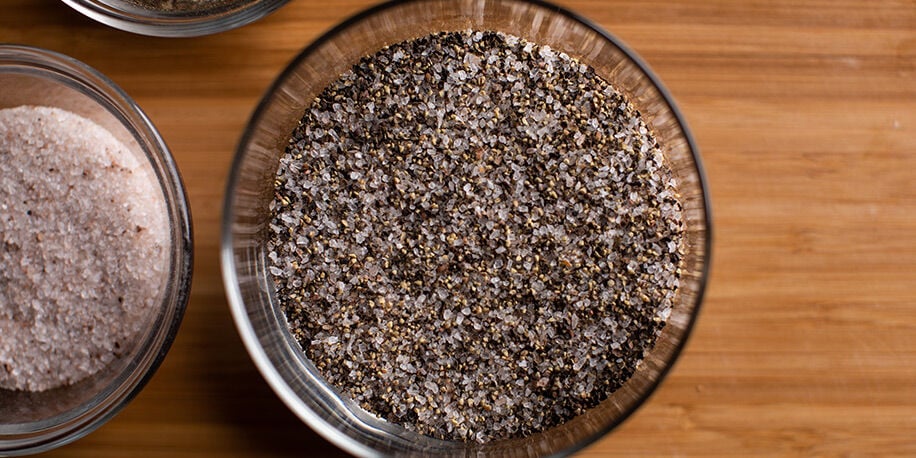
The most common way to season your brisket is a traditional Texas-style salt and pepper rub. Combine equal parts kosher salt and coarse black pepper for a simple, yet tasty way to present your brisket. Many brisket purists choose the salt and pepper seasoning method. With a brisket being as large as they are even a 5 pound brisket can take a lot of seasoning so don't be afraid to have a well coated layer. Salt is an amazing flavor enhancer so if you are interested in learning how to better utilize salt check out our salting 101 article.
HOMEMADE DRY RUB
If you're looking for something a little more complex, try a homemade dry rub. Bonus: most of the ingredients can be found in your home kitchen!
- 2 tbsp. kosher or coarse salt
- 2 tsp. coarse black pepper
- 2 tsp. paprika
- 1 tsp. cayenne pepper
- 1 tsp. oregano leaves (dried)
- ½ tsp. ground cumin
- 1 tsp. garlic powder
STORE BOUGHT BRISKET RUBS
Don't want to deal with mixing and measuring? There are more than a handful of companies that offer a store bought, pre-mixed brisket rub. Check out companies like Meat Church, and our in house mixtures like, Y'all Purpose, and Somethin' Southern.
INJECTIONS
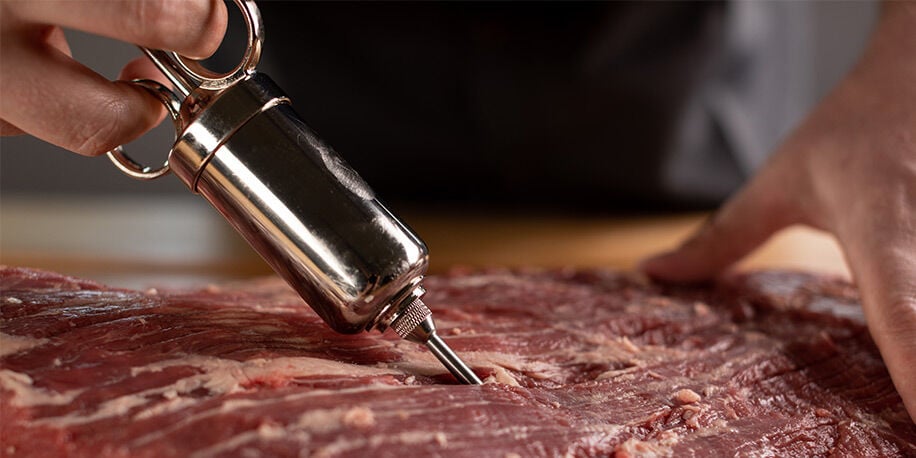
An injector allows you to add flavor beyond just the brisket's surface. Liquids including beef broth, butter, alcohol, sodas, and even Worcestershire sauce are used in this method.
GRILL PLACEMENT
Depending on who you talk to you may get a different answer on how and when to place your brisket on the pellet grill. Some people will say when it is cold straight out of the fridge and others will say let it warm up to room temperature. There is also a debate on how to place it in regards to the fat cap being up or down. Though this is mostly a personal preference here are our thoughts on the matter.
Warm or cold
Deciding whether to put your brisket on the pellet grill while it's still cold or room temperature is completely up for debate. Many people believe that smoke adheres better to cold meat and that this, in turn, yields a better smoke ring. Others suggest letting your brisket warm up to room temperature (for about an hour) with the idea that starting with a warm piece of meat generates a more tender end result.
Fat cap up or down
When it actually comes to laying your meat on the grill grates it's best practice to place your brisket's point towards the fire/heat source. Some people place the brisket fat side up with the idea that once the fat melts, its juices will re-distribute and add moisture to the brisket. Others place the fat side down in order to protect the meat. We've tested and consulted with experts on both methods and frankly, it comes down to personal preferences.
THE STALL
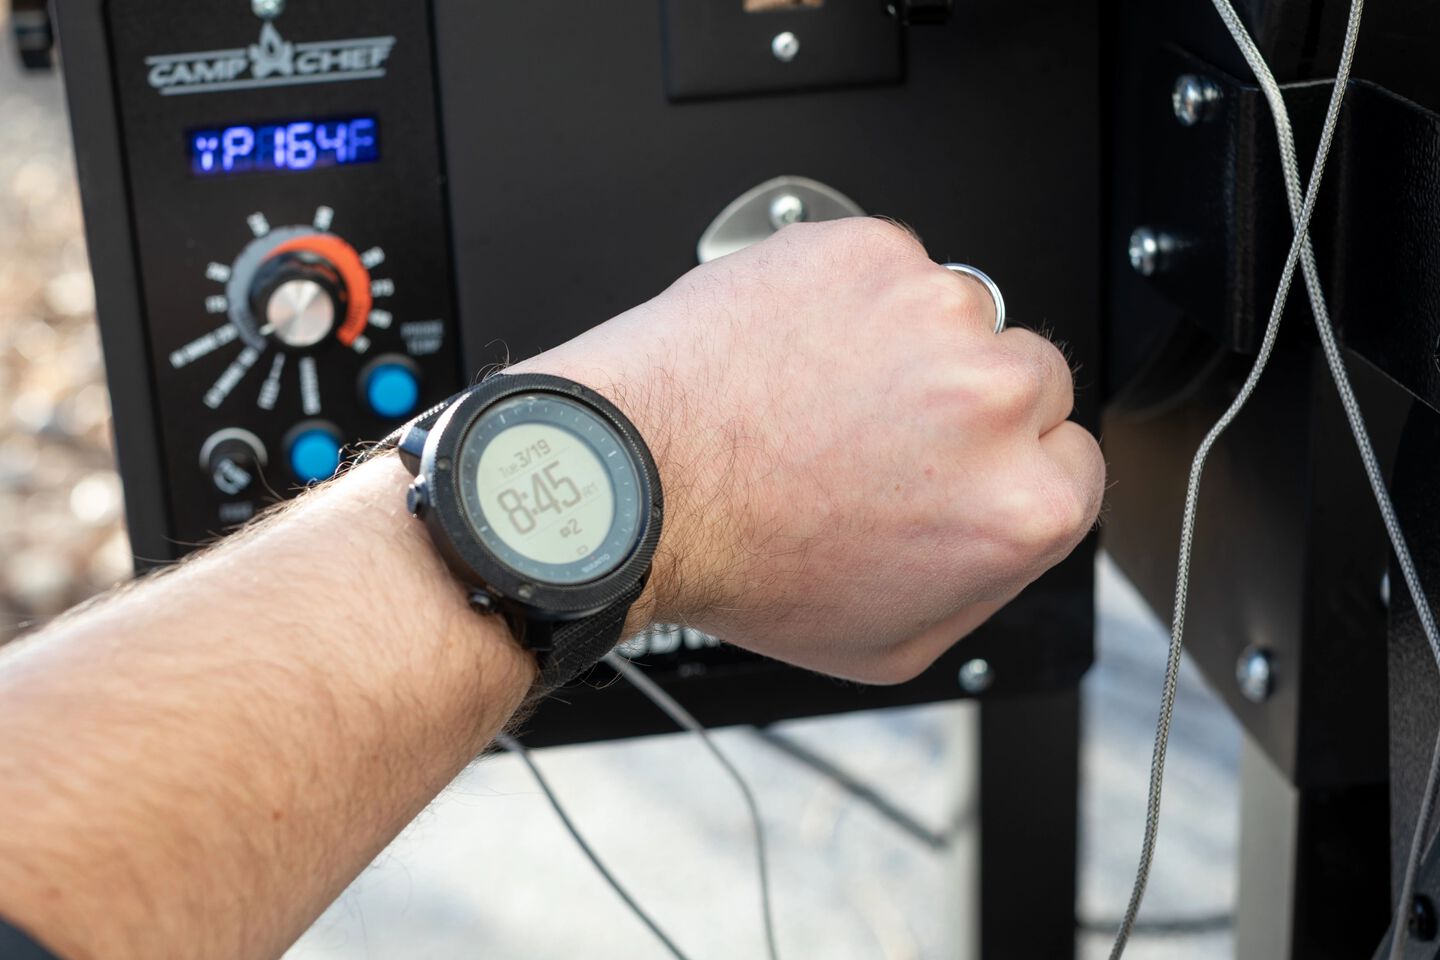
Dun, dun, dunnnn. The dreaded brisket stall is when your brisket's internal temperature plateaus or stops rising. The stall usually occurs around 160-170°F and can last up to four hours. This can happen when your meat's internal temperature is gradually inching closer and closer to the smoker's temperature. The smoker's heat starts to melt the brisket's fat and the evaporation process begins. As moisture is being evaporated from the brisket, it, in turn, ends up cooling the meat. Some people fight through the stall by waiting it out, while others take it off and wrap it.
WRAPPING
Wrapping is a personal preference. However, it's widely used because it helps retain moisture, prevents burning/drying, and pushes you through a stall faster. Wrapping is typically done once your brisket starts to stall. Are you team tin foil or team butcher paper? The age ole' debate continues. We won't pick sides, but we'll help you make an informed decision. Heck try 'em all and let us know what works for you.
The NAKED Brisket
If you choose not to wrap your brisket at all, you will find that your brisket will need to cook longer (due to the stall) compared to its cozier counterparts (below.) However, there is something to be said about the added smoky flavor and bark. If you decide to run a naked brisket be away that it is more susceptible to drying our or burning. Keep the temp low and slow until the stall and bump up the temperature only by 25-50°F.
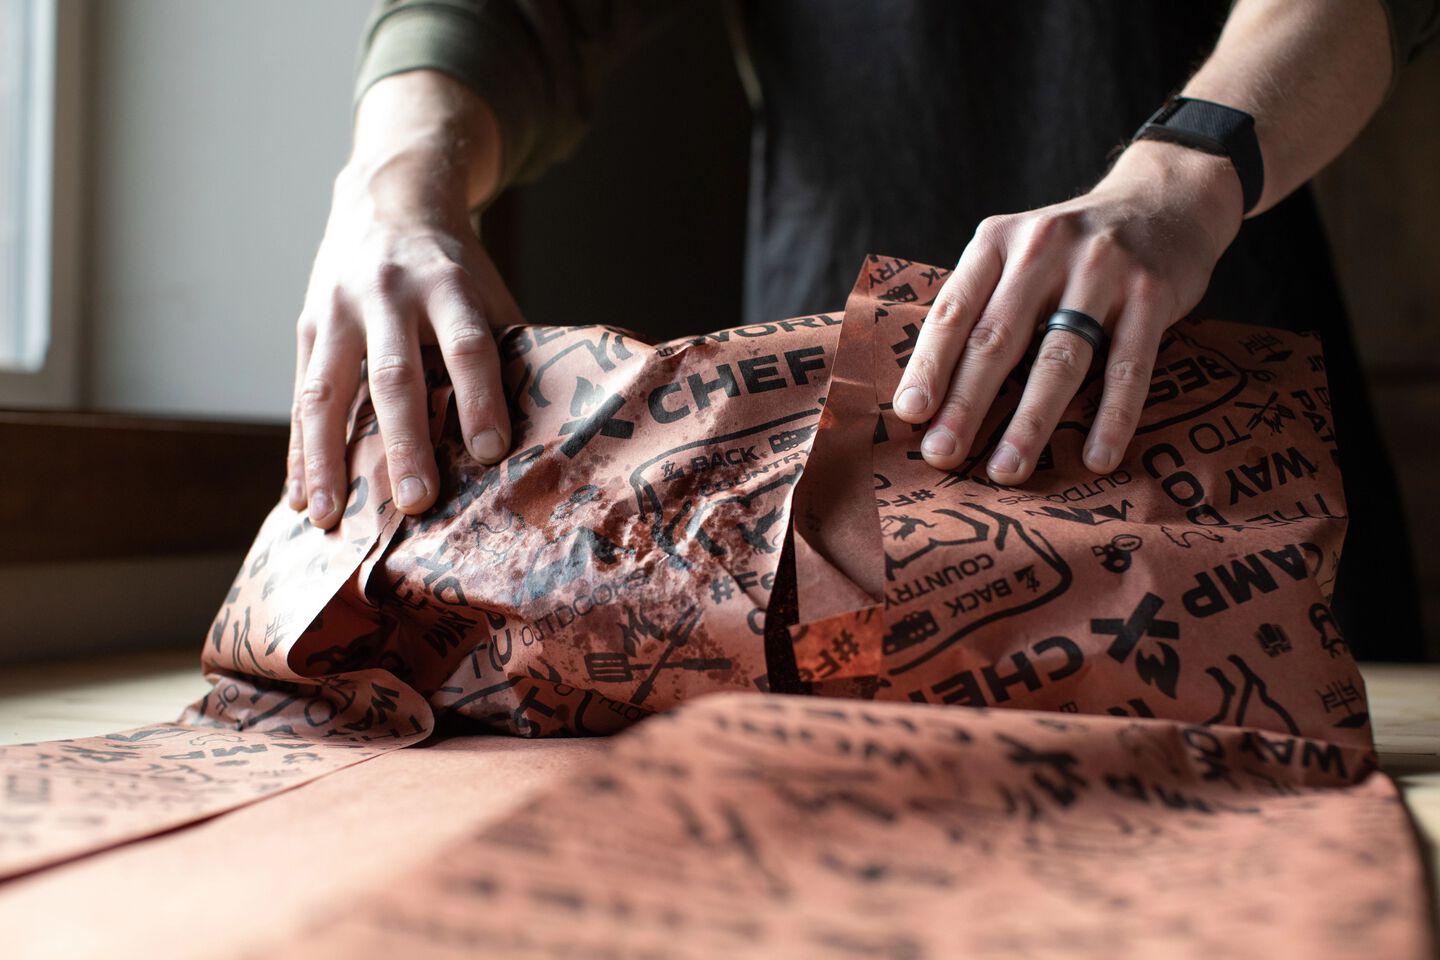
BUTCHER PAPER Wrapped Brisket
Compared to a naked brisket, butcher paper will decrease your cook time. The extra layer offers a sheet of protection to your brisket, so it won't dry out. Many cooks love the fact that butcher paper allows their meat to breathe. If your meat is able to breathe, smoke will be able to reach the meat, giving you an authentic smoked brisket taste. Plus, with breathability comes direct heat penetration. You'll develop a thick crunchy bark in no time. With either the butcher paper or aluminum foil many enthusiasts will add a dollop of wagyu beef tallow to the foil or paper before they place the brisket down. This is an easy way to add more flavor because it can soak up the extra fat with the lean flat of the brisket.
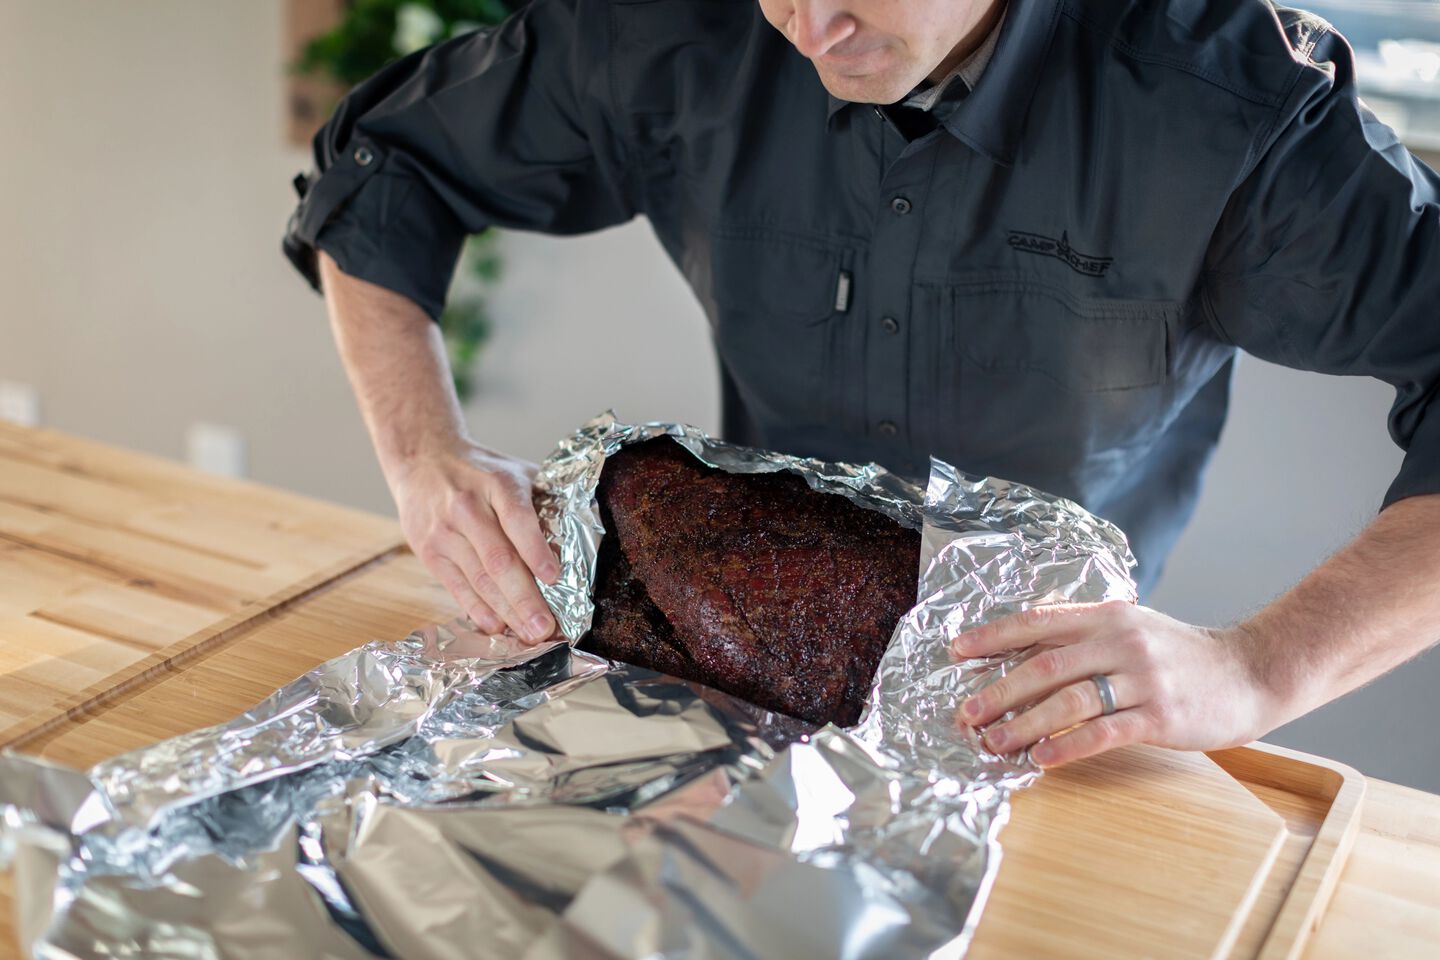
ALUMINUM FOIL Wrapped Brisket
Using aluminum foil is also known as the Texas Crutch. You'll get a mixture of steaming, smoking, and baking when wrapping in tin foil-similar to an oven. While your meat will cook faster and pull you through a stall more quickly, a thick bark is often difficult to achieve. The absence of bark is mainly due to a combination of too much moisture and not enough direct heat. However, you'll notice your meat is more tender due to lack of breathability.
How to save a dry brisket
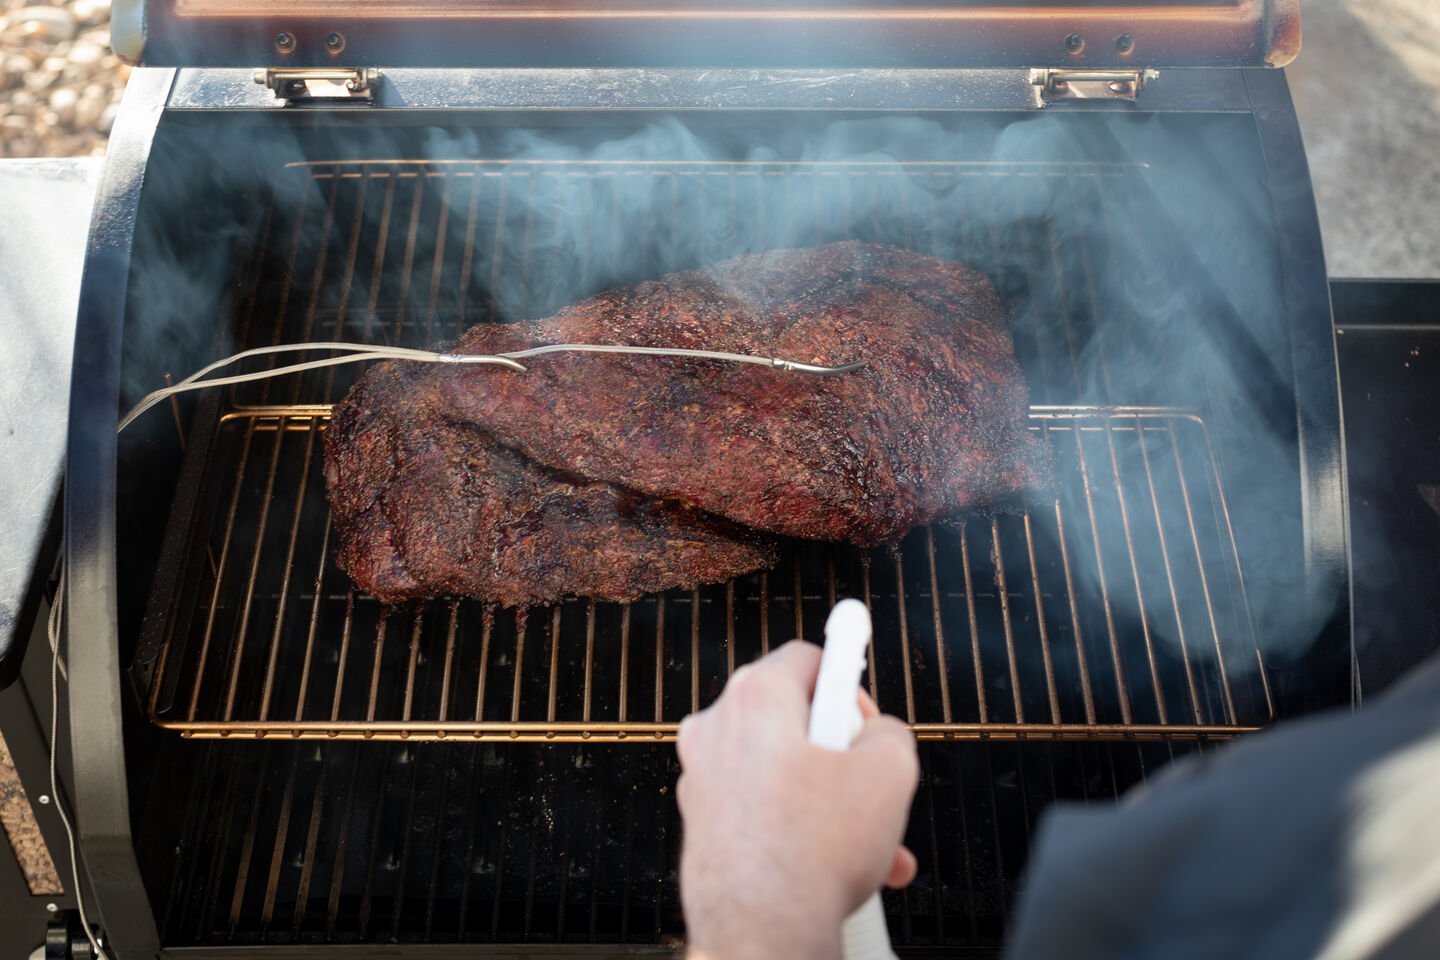
You don't want to constantly check on your brisket, but finding a method to retain moisture is key. Many stick, electric, and propane smokers require a water pan to do so. However, we've found that pellet grills do not require a water pan. Instead of wrapping your brisket, you can try spritzing and spraying. This entails putting a liquid of choice in a spray bottle, usually apply juice or apple cider vinegar diluted with water, and doing a light meat spray. If you choose to use a vinegar base for a spritz make sure to dilute it or the vinegar can add a strong flavor you didn't intend to have. Also consider with apple juice or any juice or soda that the sugars can caramelize and burn if they are on to long or in too high of heat. Mopping is also a popular method where a pot containing a liquid base and seasoning is mopped onto the meat.

TIME + TEMP
Beginning temperature to smoke a brisket
Preheat/set your grill temperature to 225-250°F. Now, keep in mind that every piece of meat is different, and we firmly stand behind the idea of not giving cook times. That being said the general rule of thumb is accounting for an hour to and hour and 15 minutes per pound. We can't say it enough-keep the lid closed. There's a saying in the brisket world, "If you're looking, you're not cooking." Spray, mop, and check on your brisket as little as possible.
INTERNAL TEMPERATURE
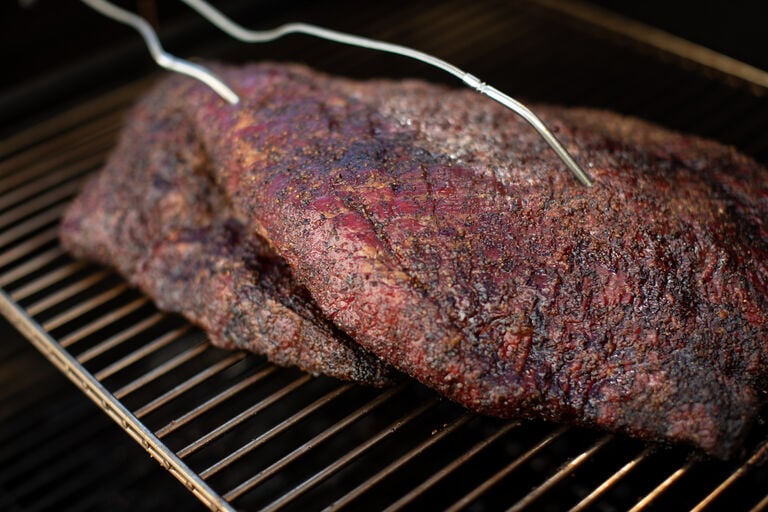
For the best results, you need to actively monitor your meat's internal temperature. We have refered to the stall which will happen with nearly every brisket with internal fat. The stall typically happens between 150-170°F. That being said you do not need to wrap as soon as you notice the stall. Wrap the brisket when you have the bark you are going for. The internal temperature of your brisket should be around 195-205°F (give or take 5°F) at the time you pull your brisket off the grill. The most important thing to look for is texture. Temperature is a rough estimate but when you can insert a probe and it feels like soft butter then you have finally made it. Many of our pellet grills offer two or more meat probes to provide you with a more accurate reading.
RESISTANCE TEST/PROBE FOR DONENESS
After the brisket reaches around 195°F many people probe test their brisket. This is also called the resistance test and it requires you to check the resistance of both the point and flat every 30-45 minutes. Do this by pushing your probe in and pulling the probe out to assess the resistance. Is it comparable to butter...caramel...etc. You know it's ready when the consistency is similar to soft butter or jello. Be sure to make mental notes for the next time you cook a brisket.
POINT VS. FLAT TEMPERATURE
Since you have a probe in both the point and flat, you may recognize that your flat gets done quicker than the point. If this happens, some chose to just let it ride. While other BBQ-ers pull the brisket out, cut off the flat, and return the point to the grill until you reach the desired temperature. The point can then be used to make brisket burnt ends.
RESTING
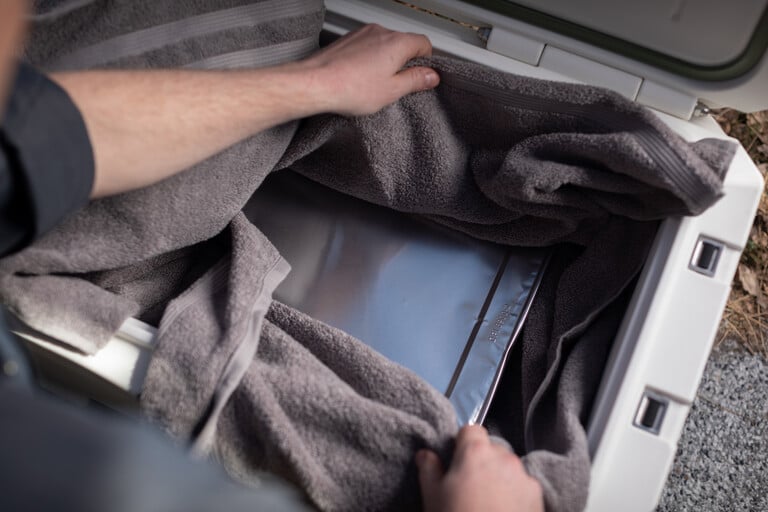
Is resting a brisket important
Give it a rest! You've heard this time and time again when cooking meat, please for the love of all that is good in this world, allow your brisket to rest. We suggest letting your meat rest for a minimum of 30-60 minutes before serving. That is a minimum time not maximum. Some of the best BBQ restaurants will rest a brisket for 10 hours before they will serve it. They are not new to the resting game and are able to keep the meat at a safe temperature. At home you can rest your brisket safely for up to 6 hours if needed. Do this by storing your brisket in a Faux Cambro—just use a large cooler and some towels!

SLICING
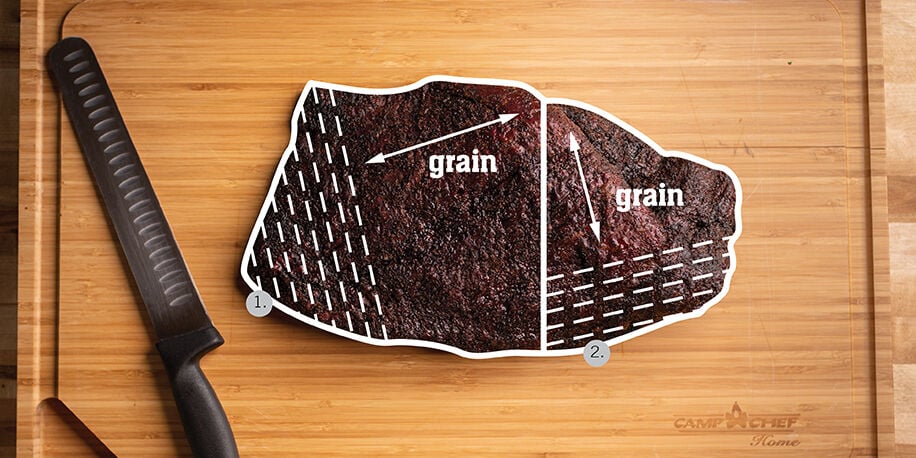
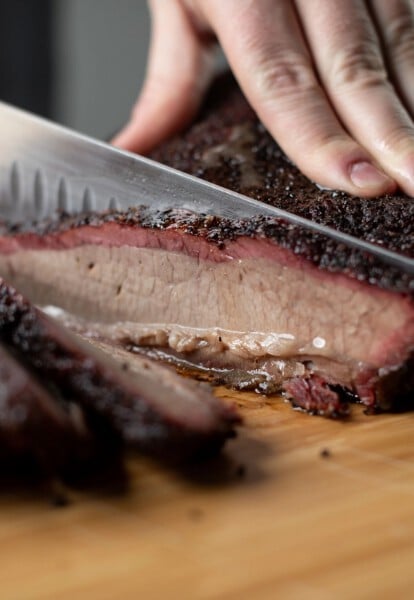
When it's finally time to slice your masterpiece, locate the flat and point. Slices should be around ¼ of an inch. 1. Begin on the flat side and slice against the grain working your way towards point. Around this area, the grain will gradually change. 2. Change the direction in which you cut to go against the grain. Continue by finishing with the point.

TEST
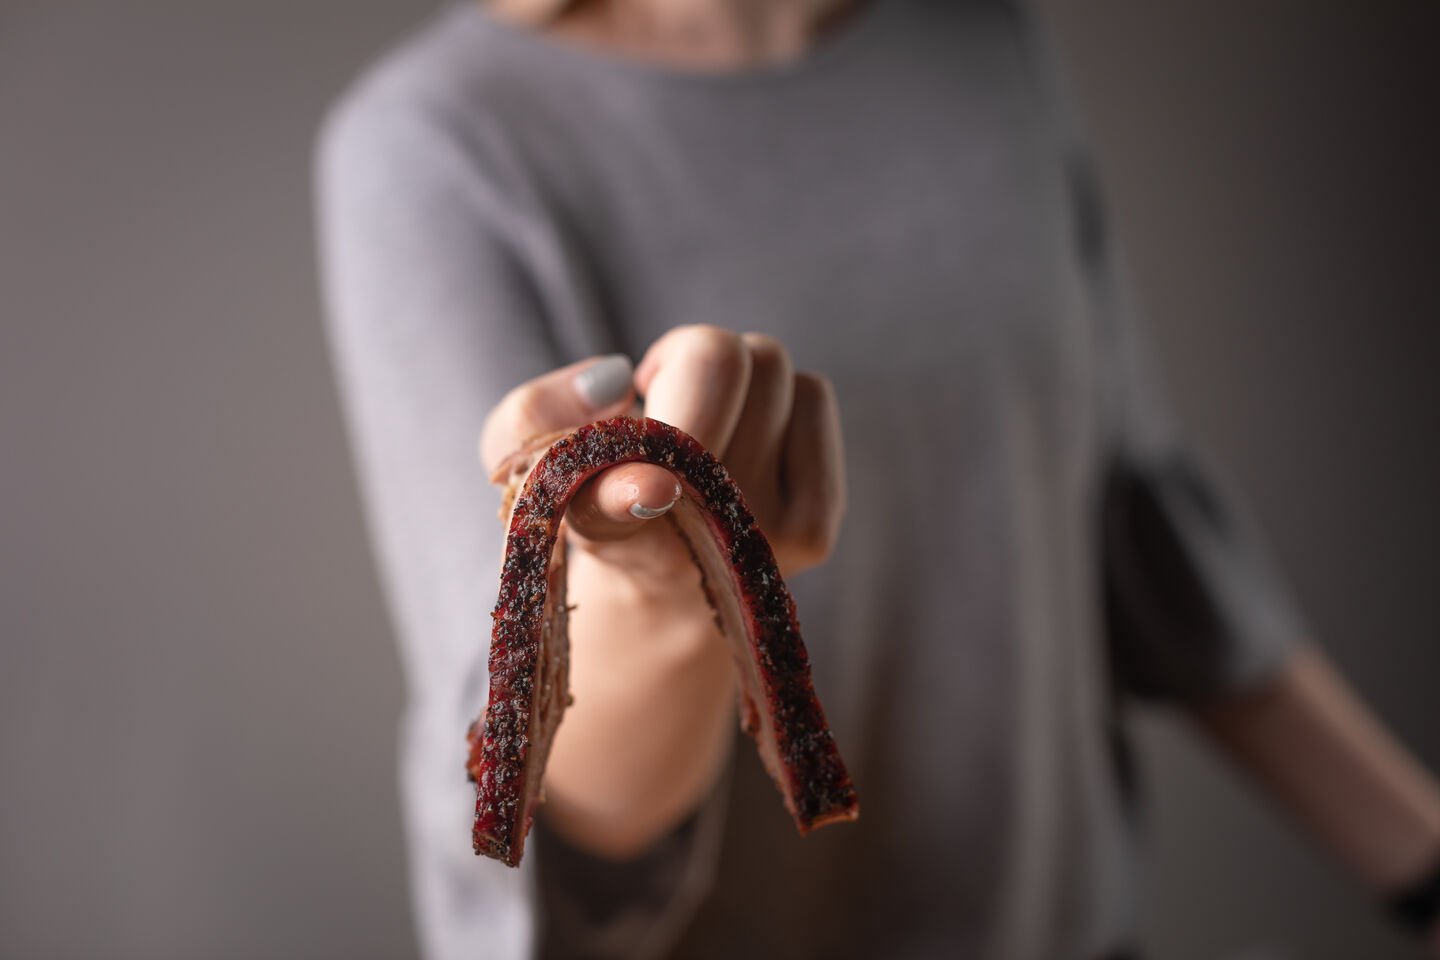
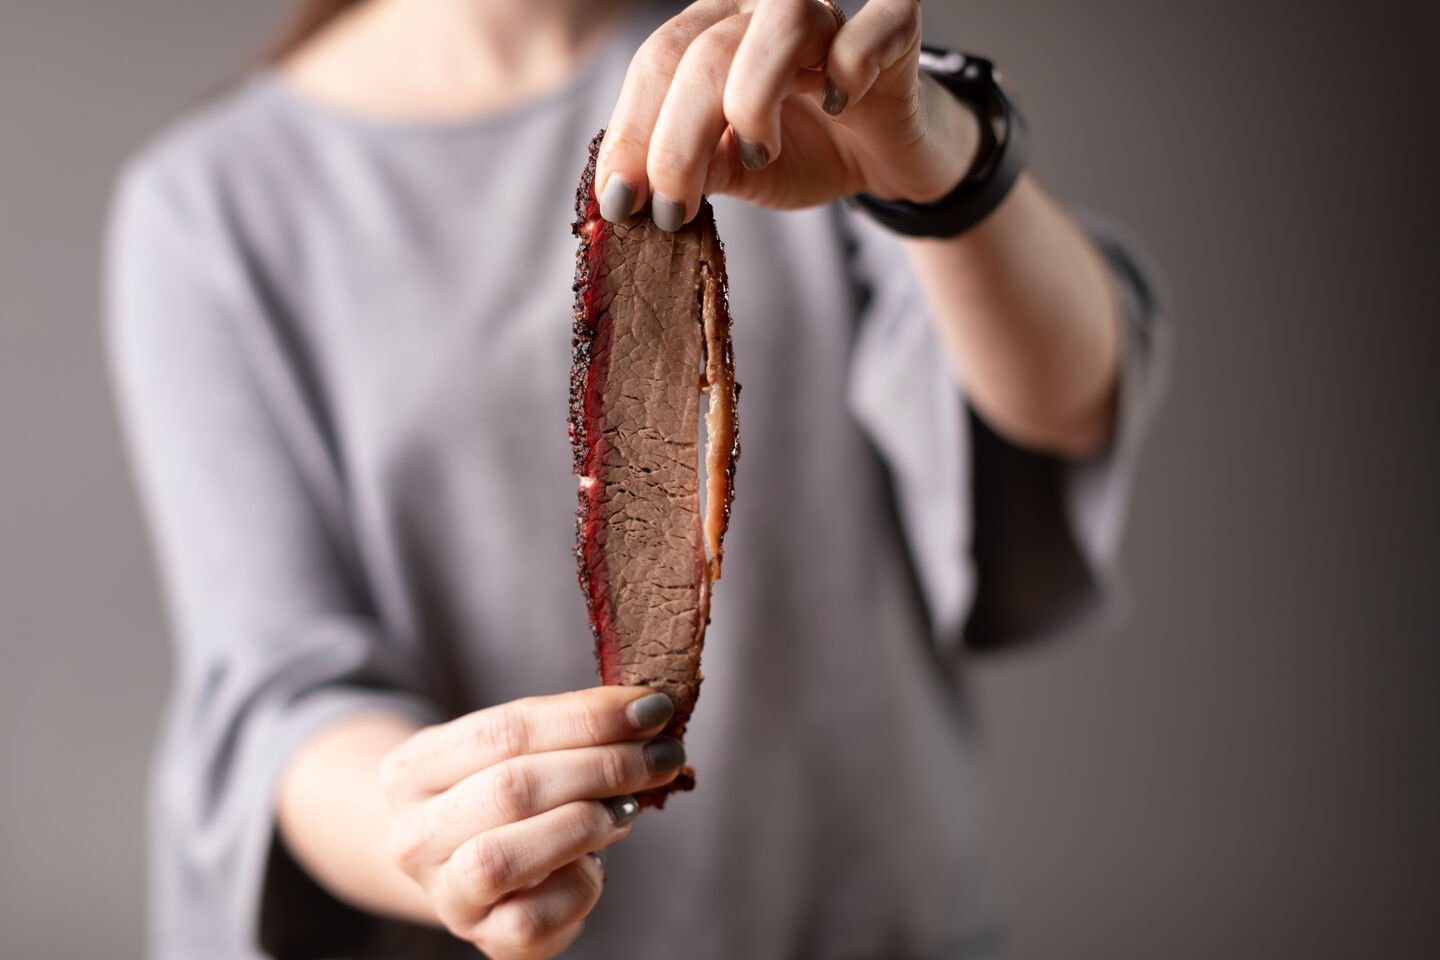
If you're curious as to how your brisket turned out, you can test the bend. The bend is in reference to how tender your meat will be. There are a couple of ways to test that will ultimately give you the same outcome.
BEND TEST
Grab a slice of brisket in the middle with your thumb and index finger, if it bends over both sides of your hand without breaking-your meat is tender. Another popular way is to hang the brisket slice over your index finger if it droops over your forefinger you are golden!
PULL TEST
Almost exactly as it sounds; the pull test consists of holding a single slice of brisket on its edge, vertically between your thumb and index finger. If well-cooked, the brisket slice should not fall apart under its own weight but should break apart easily with a slight pull/tug.
Serving
Serving a brisket is one of the easiest things to do. As long as you did your job on the preparation and cook the brisket will be a crowd favorite. Add in a few sides and maybe a BBQ sauce and dinner is ready.
SAUCE AND SIDE DISHES
You can serve your brisket with sauce if you'd like. Many people shy on the side of just letting the meat and smoker do the heavy lifting. It's up to you. We also get a ton of questions in regards to brisket side dishes. You can serve brisket with any typical BBQ side dish. Try red beans & rice, cornbread, coleslaw, mac and cheese, starch/potatoes, etc.
STORING AND LEFTOVERS
Store in the refrigerator for up to four to seven days. If you have leftovers try making a brisket sandwich or brisket chili. Otherwise, cooked brisket can last 2-3 months in the freezer before it loses moisture and flavor.
A CAMP CHEF BRISKET
Camp Chef has a variety of products that help make brisket smoking seamless. Pick up the 26-inch Bamboo Cutting Board for trimming, seasoning, and slicing your brisket. All of our pellet grills have the capacity to smoke a brisket-even the Pursuit! Long cooks may result in excess grease so pick up a pack of pellet grill grease bucket liners for easy cleaning.
A Camp Chef style brisket means more than just using our products-it also provides a sense of community. If you're on Facebook and have a Camp Chef pellet grill, join this customer-ran pellet grill group called Camp Chef Smoker Smokers.


